
Top Gun "One Day Tomcat"


 Age range 10+ and just 20 parts? Easy! Well… truth bomb incoming. I discover as I look it over that it’s actually a kit from the 1970s. No, that is not a bad thing at all and quite nostalgic but here it is, these kits back then weren’t so much authentic scale replica kits as “correct size toys” that we put together ourselves. Semantics Linc! Yes, maybe but that’s about what I would call it now. A fun toy that clicks together and we can paint it too. That’s the mindset I approached this with and that allowed me to actually really enjoy it, despite some fit issues that would otherwise have me crying myself to sleep - I just smiled, let them go and moved on. Quickly! The instructions are very clear and all pictorial, it’s clear that we need to paint the pilots and cockpit area first to be able to click the fuselage together. Well we don’t need to paint the pilots but they look so cool that it seems a shame not to, human elements with models become the little focal points of our projects.
Featured Supplies

Revell 1/72 Top Gun - F-14 Tomcat "Top Gun"

Tamiya Extra Thin Cement

GodHands Plastic Scissors

Mineshima Nippers

Mr White Surfacer

Leonhardy Size 1

VMC Flat Black

VMC London Grey

AK Alga Green

Citadel Nuln Oil

Mr Color 33 Flat Black

Mr Color 37 Grey-Violet RLM 75

Mr Mark Setter
Mr Super Clear Satin

Tamiya Panel Line Accent Color - Black

Tamiya HF Brush No.2 No. 8704

Zippo Light Fluid

Gaianotes Enamel Thinner
Mr Super Clear Matt
To keep it super simple, I decided to prime white and then shade in the details with loose washes of water-based acrylic paints. That way I can leave the helmet white and the bright white base will show through on the cloth and details like highlights. If I can get it right…  By keeping it nice and tidy I was able to get a passable result here. The Alga Green from the AK-Interactive acrylics was the closest idea I had knowing I would wash it down with Citadel’s “Nuln Oil”, another water-based shading product. The visor was pure Black Model Color from Acrylicos Vallejo and mixed with a touch of grey to paint the air hose. I used a size 1 sable brush from the Leonhardy range. I think Hobbyco might import these, they gave me some samples way back in 2017. Just the once so this must be close to 4 years of heavy use and has survived quite well. It also looks like it would be a good idea to paint the anti-glare panels in the cockpit at this stage too so I opted for Mr Color Flat Black and painted it directly onto the plastic. The Mr Color range are a very high-quality acrylic lacquer paint and will stay on the plastic without the need for a primer coat, in effect, they are also a form of primer paint which allows us to skip a step here. Speed and economy of effort in action!
  Whilst we have the acrylic lacquer paints out, I notice the instructions call out for a dark grey section behind the wings. I am very happy I went to the trouble of doing this because in talking with the manager of the Hobbyco Chatswood Branch, Mr. Nathan Lee pointed out to me that it’s a very sophisticated “airbag” that helps keep the aerodynamic form whilst the wings are in a different position. Wow, see if we are modelling we are learning! ;p Once again, using the wonderful properties of Mr Color I’ve painted these carefully, straight onto the plastic.
  Right about now I am thinking, “you know Linc… this plastic color is about right for the Tomcat on the box… do you think you can add details and weathering and use it as the base color?” Good story? Well, in truth it is a story because I really did start with this concept in mind and knew this would be a perfect model kit to share this and I do hope it helps you make more cool stuff. Here is the first kit I tried this technique out on back in 2010 at the urging of my mentor, Kow Yokoyama Sensei. Can you see the dull blue grey inside the roundels, chipped paint and so on? That’s the actual plastic color peeking through and it’s hilarious to show your friends as they scratch their heads trying to figure out how you did it. Let’s keep this a secret between us and the internet. Hehe!
  Back to our Tomcat, this kit includes both stickers and water-slide decals. You can imagine that I was pretty nervous thinking about spraying clear coats during the rain and flooding here in Sydney so I considered the stickers but… they are quite thick and the next weathering steps might not work so I toughened up and went waterslides. Nice and simple, soak in a little tub of water and using Mr Mark Setter as a light glue and wetting agent.
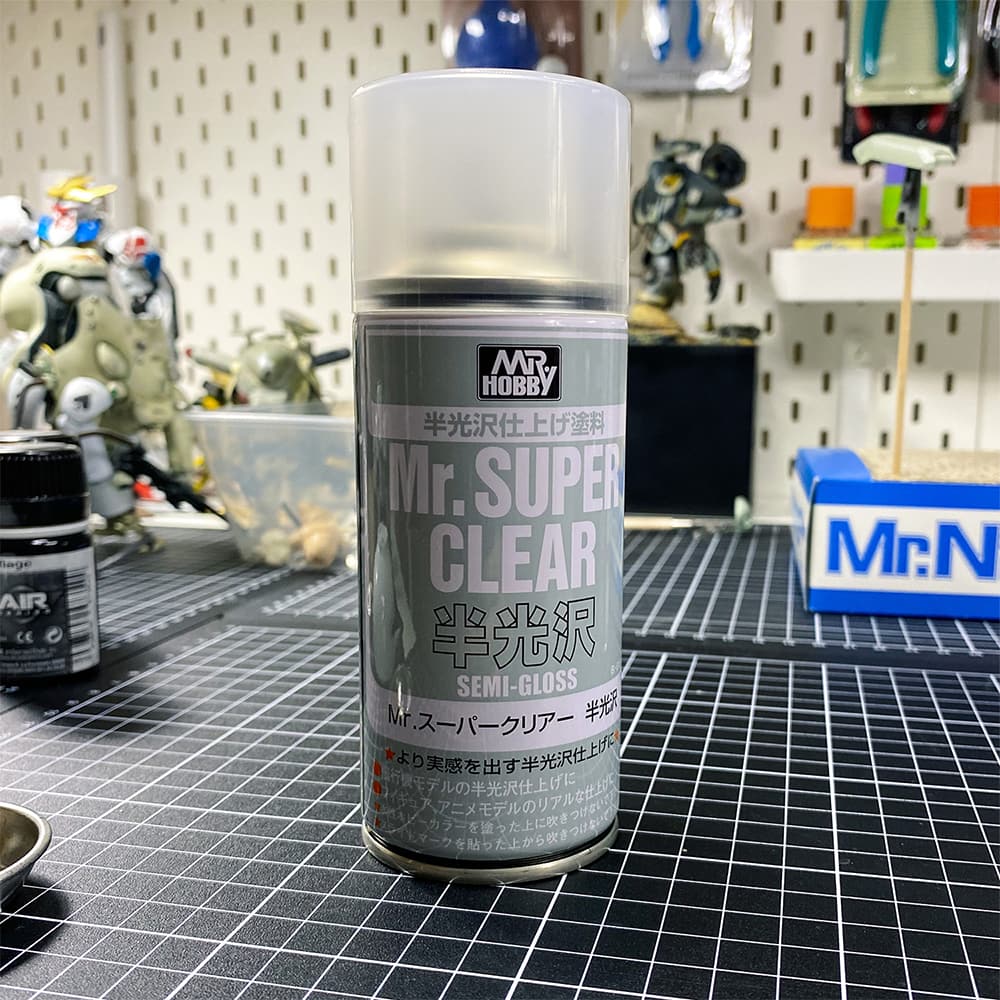
  Once dry, we can seal them in with a clear varnish coat to protect them from both rubbing off and if we happen to use solvents for weathering steps. This series is my favourite, Mr Super Clear, straight from the can.
 ![]() Remember that Mr Color Flat Black I was using to paint details? Well, I keep these acrylic lacquers in little porcelain dishes for re-use. Yes, I understand it sounds bizarre but acrylic lacquers do not actually cure. Yes, they dry and are super durable but they never actually cure so we can re-activate and re-use them. I loaded up a heavily used brush and applied a quick and nasty mottled effect over the raised details and flat surfaces of the kit. Mottling is very popular now and I’ve done a couple of airbrush versions, such as on my MK44 Whiteknight Prototype but this was my first experiment with a hand brush version. It’s not bad and over plastic like this was very forgiving but would I try it over a painted surface…? That would be my bravery test right there!!
Remember that Mr Color Flat Black I was using to paint details? Well, I keep these acrylic lacquers in little porcelain dishes for re-use. Yes, I understand it sounds bizarre but acrylic lacquers do not actually cure. Yes, they dry and are super durable but they never actually cure so we can re-activate and re-use them. I loaded up a heavily used brush and applied a quick and nasty mottled effect over the raised details and flat surfaces of the kit. Mottling is very popular now and I’ve done a couple of airbrush versions, such as on my MK44 Whiteknight Prototype but this was my first experiment with a hand brush version. It’s not bad and over plastic like this was very forgiving but would I try it over a painted surface…? That would be my bravery test right there!!  Switching solvents here, we can take advantage of the fact that mineral oil based paints such as enamels, oils and their kind do not disturb acrylic lacquers. So I immediately pressed on and applied a loose wash of Tamiya Panel Accent Color, an easy to apply panel line wash… like in the name. They didn’t lose any sleep coming up with that one, did they? To make the product go a little further I’ve thinned it with lighter fluid. Yes, lighter fluid is a very effective mineral oil based thinning agent that dries very quickly. If you don’t have this, you can also use an enamel thinner like the one from Gaianotes shown. I went with lighter fluid because it’s famously not quite as hot as regular enamel thinner and because I am applying it here, wet, to an unpainted plastic surface, I wanted to at least pretend to be a little careful. I have no idea if Revell plastic is susceptible to the mineral spirit damage like Bandai can be...
 This is the combination I used.
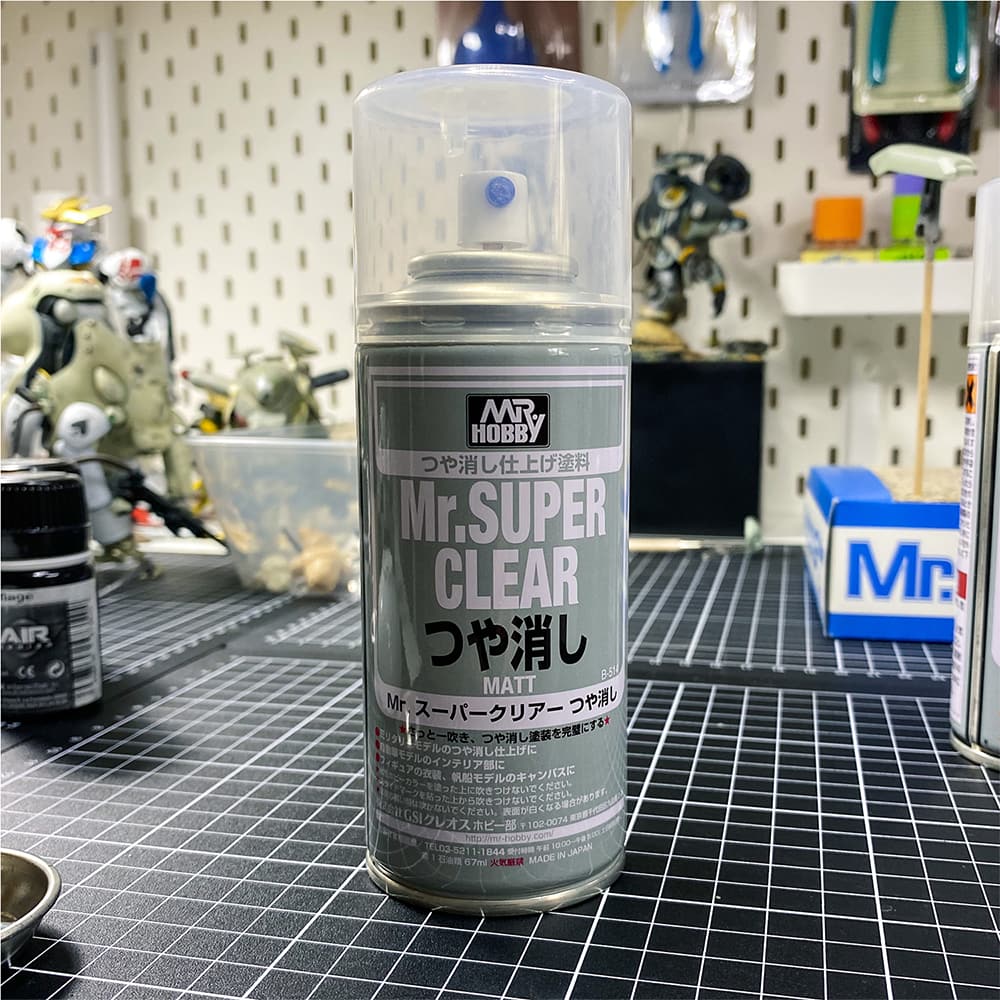
 An alternative enamel thinner I have on my bench. For the final stage, I attempted to matt down and flatten the surface. The bare plastic will tend to look, well in honesty, “plasticky” and the shine takes away a little of the scale look. To keep this beginner friendly and for the theme of a “one day build” I opted for a spray can again. Having tested all of the spray can clear coats and varnishes available to me, including water based top coats and so on, this is my go to. Hands down, the Mr. Super Clear spray cans are the best out there. Quality, consistency & speed. I recommend them to my students all over the world and likewise, their feedback is 100% positive. The only downside being that they cannot really be used indoors and their relative cost. I use them quite sparingly and carefully. Yes both the regular version and the UV Cut versions have similar performance, I don’t prefer one over the other.
GALLERY
Here are some finished gallery shots of my “One Day Tomcat”. No, it’s not to the quality of modern aviation scale modelling but that’s ok, I am fine with it. Instead, I am most pleased that I hit my target of re-creating something in the style I would have done as a new modeller with more limited resources. Plus it was fast and fun!


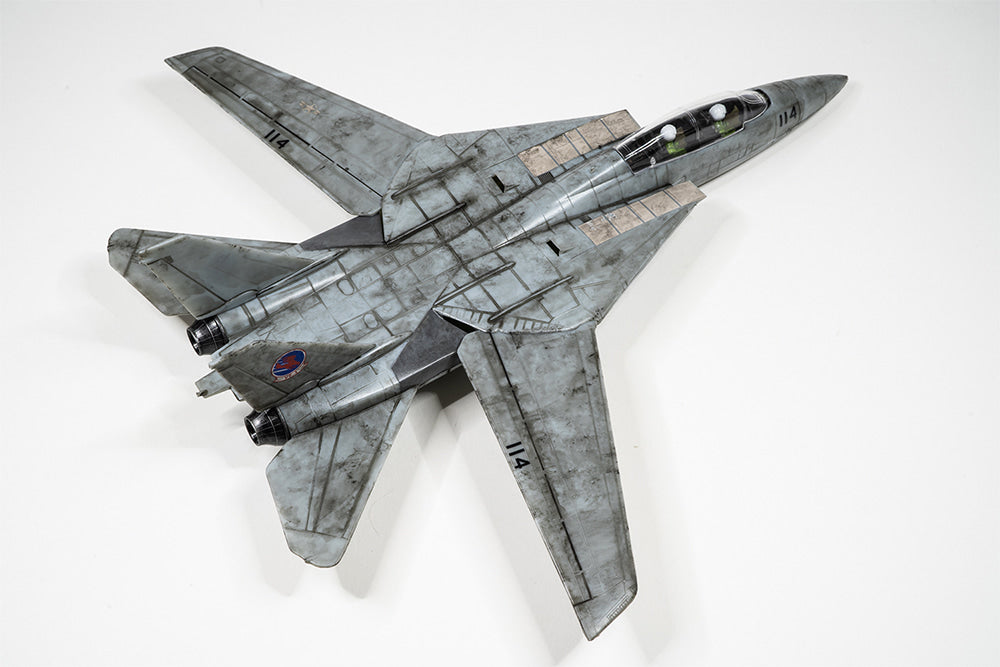 The style and weathering is also exaggerated as I am hoping that Hobbyco will have this on display for new modellers to see as they walk by and perhaps want to try it out. A slightly exaggerated finish tends to look a little more interesting in large halls and brightly lit toy & hobby stores. The satin or even glossy finish also helps, Kow Yokoyama Sensei pointed this out to me at the various Aircraft Modelling shows we attended in Tokyo. Hopefully this also inspires some of my friends to try out making their own Tomcat and using some of these steps and suggestions. What would I do next? Well, if our friends at Hobbyco wanted me to do another Tomcat, I would be most happy to explore the 1/48 scale offerings from either AMK or Tamiya. My aircraft modelling friends told me that they are THE Tomcats to make. More soon and happy modelling,
  Lincoln from PoP
Watch the youtube video here


