Diving Straight In - What to Know Before Starting Your First Master Grade Gunpla Kit
A Blog by Allen Jin
This blog is for you Gunpla beginners that are considering your first Gundam Master Grade (MG) kit, you may find the MG more appealing than the High Grade (HG) because of their larger size, but may be intimidated by the larger number of parts.
The beauty of Gunpla is that every kit is built using the exact same techniques:
- Follow the letters and numbers to find the parts on the runner
- Cut them out using a pair of nippers
- Attach them together as illustrated
This means that while it seems logical to begin with an Entry Grade kit and move your way up to a Master Grade, starting with a Master Grade kit straight away is not so scary! In this blog, we’ll be sharing some key tips and tricks to know before you build that first MG Gundam!
What is a Master Grade kit?

A Master Grade Gunpla kit is typically a 1/100 scale model, standing at an average height of around 18 centimetres, as compared to the High Grade which is usually 1/144 in scale. It features an inner frame with a wide range of motion, and the exoskeletal armor attaches to it as plates, in contrast to an HG kit where the limbs are often more hollow, aside from the joints.
An MG kit may also include additional accessories such as a pilot figure, various gimmicks like transformation mechanisms, and extra decals, be it water-slide or dry-transfer.
In short, an MG Kit is bigger, contains an inner frame, and is more detailed.
They’re not necessarily more difficult to build, they just take longer.
What to Know Before You Build
The sheer number of parts may be intimidating to a first-time Gunpla builder, so here are some top tips to ensure a smooth building experience.
Read the Instructions Carefully

This should go without saying, ensuring that you follow each step in the exact order as illustrated, as well as assembling parts in the precise orientation, prevents the need to disassemble and retrace steps. It also helps avoid the risk of warped or broken parts from applying excessive force during assembly.
Make Two Cuts

When removing parts from the runner, exercise caution. Cut slightly away from the part on the gate, leaving a bit of excess material before neatly trimming it with a sharp nipper like the Godhand SPN120 Ultimate Nipper, or a hobby knife. This approach minimises the chances of accidentally cutting off an essential part or leaving stress marks that are too challenging to sand away.

Some newer Master Grade kits may have undergrated parts (where the gate is not touching the surface of the part and is instead hidden underneath) which means that you may even have to make three cuts in some instances.
Oh No I’ve Still Made a Mistake! What Should I Do?

Do not panic, as mistakes happen to even the best of us Gunpla builders!

If you do happen to make a mistake in attaching your parts, use a Part Separator, gently wedge it in between the parts, and slowly work your way around the seam, making sure not to separate too much on one side as to avoid snapping the connecting pegs.

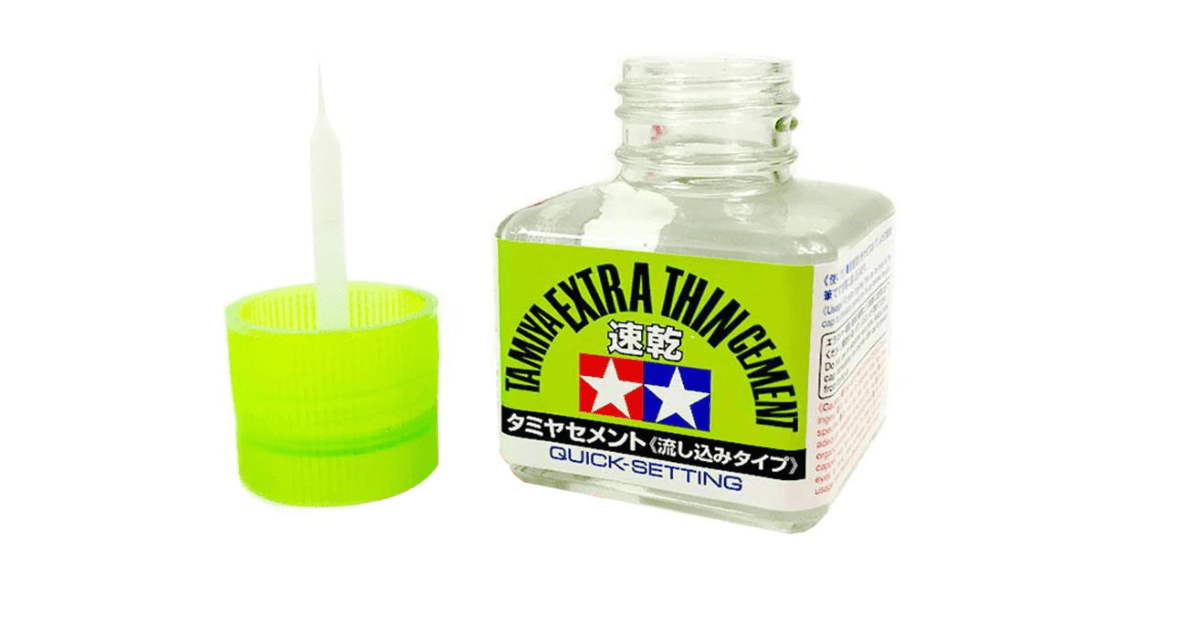
.If a part is broken, you can salvage it! Simply pick yourself up some Extra Thin Cement, apply a small amount, securely hold the parts back together, and wait overnight for it to set, before sanding the excess plastic along the broken seam. Good as new!
Imperfections = Battle Damage

Sometimes, it’s simply a matter of having the right mindset when approaching model kits. Striving for absolute perfection is difficult! If you’ve broken a part, scratched it, or if it simply doesn’t look absolutely pristine, remember these are Mobile Suits built for space warfare!
Damage and imperfections make your kit unique, and provide additional talking points about your building experience. This is particularly true if you plan to weather your kits (intentionally making them look damaged) or paint them, as you can rough up the surface of your parts since you'll be painting over them anyway.
Get Started with Hobbyco
We hope this clears up any worries you may have had before considering that Gundam Master Grade Kit you wanted to build!
Now comes the real difficult part, choosing which kit to start with!


